Mastering Photo Editing with Claude Code: A Step-by-Step Guide
Overview
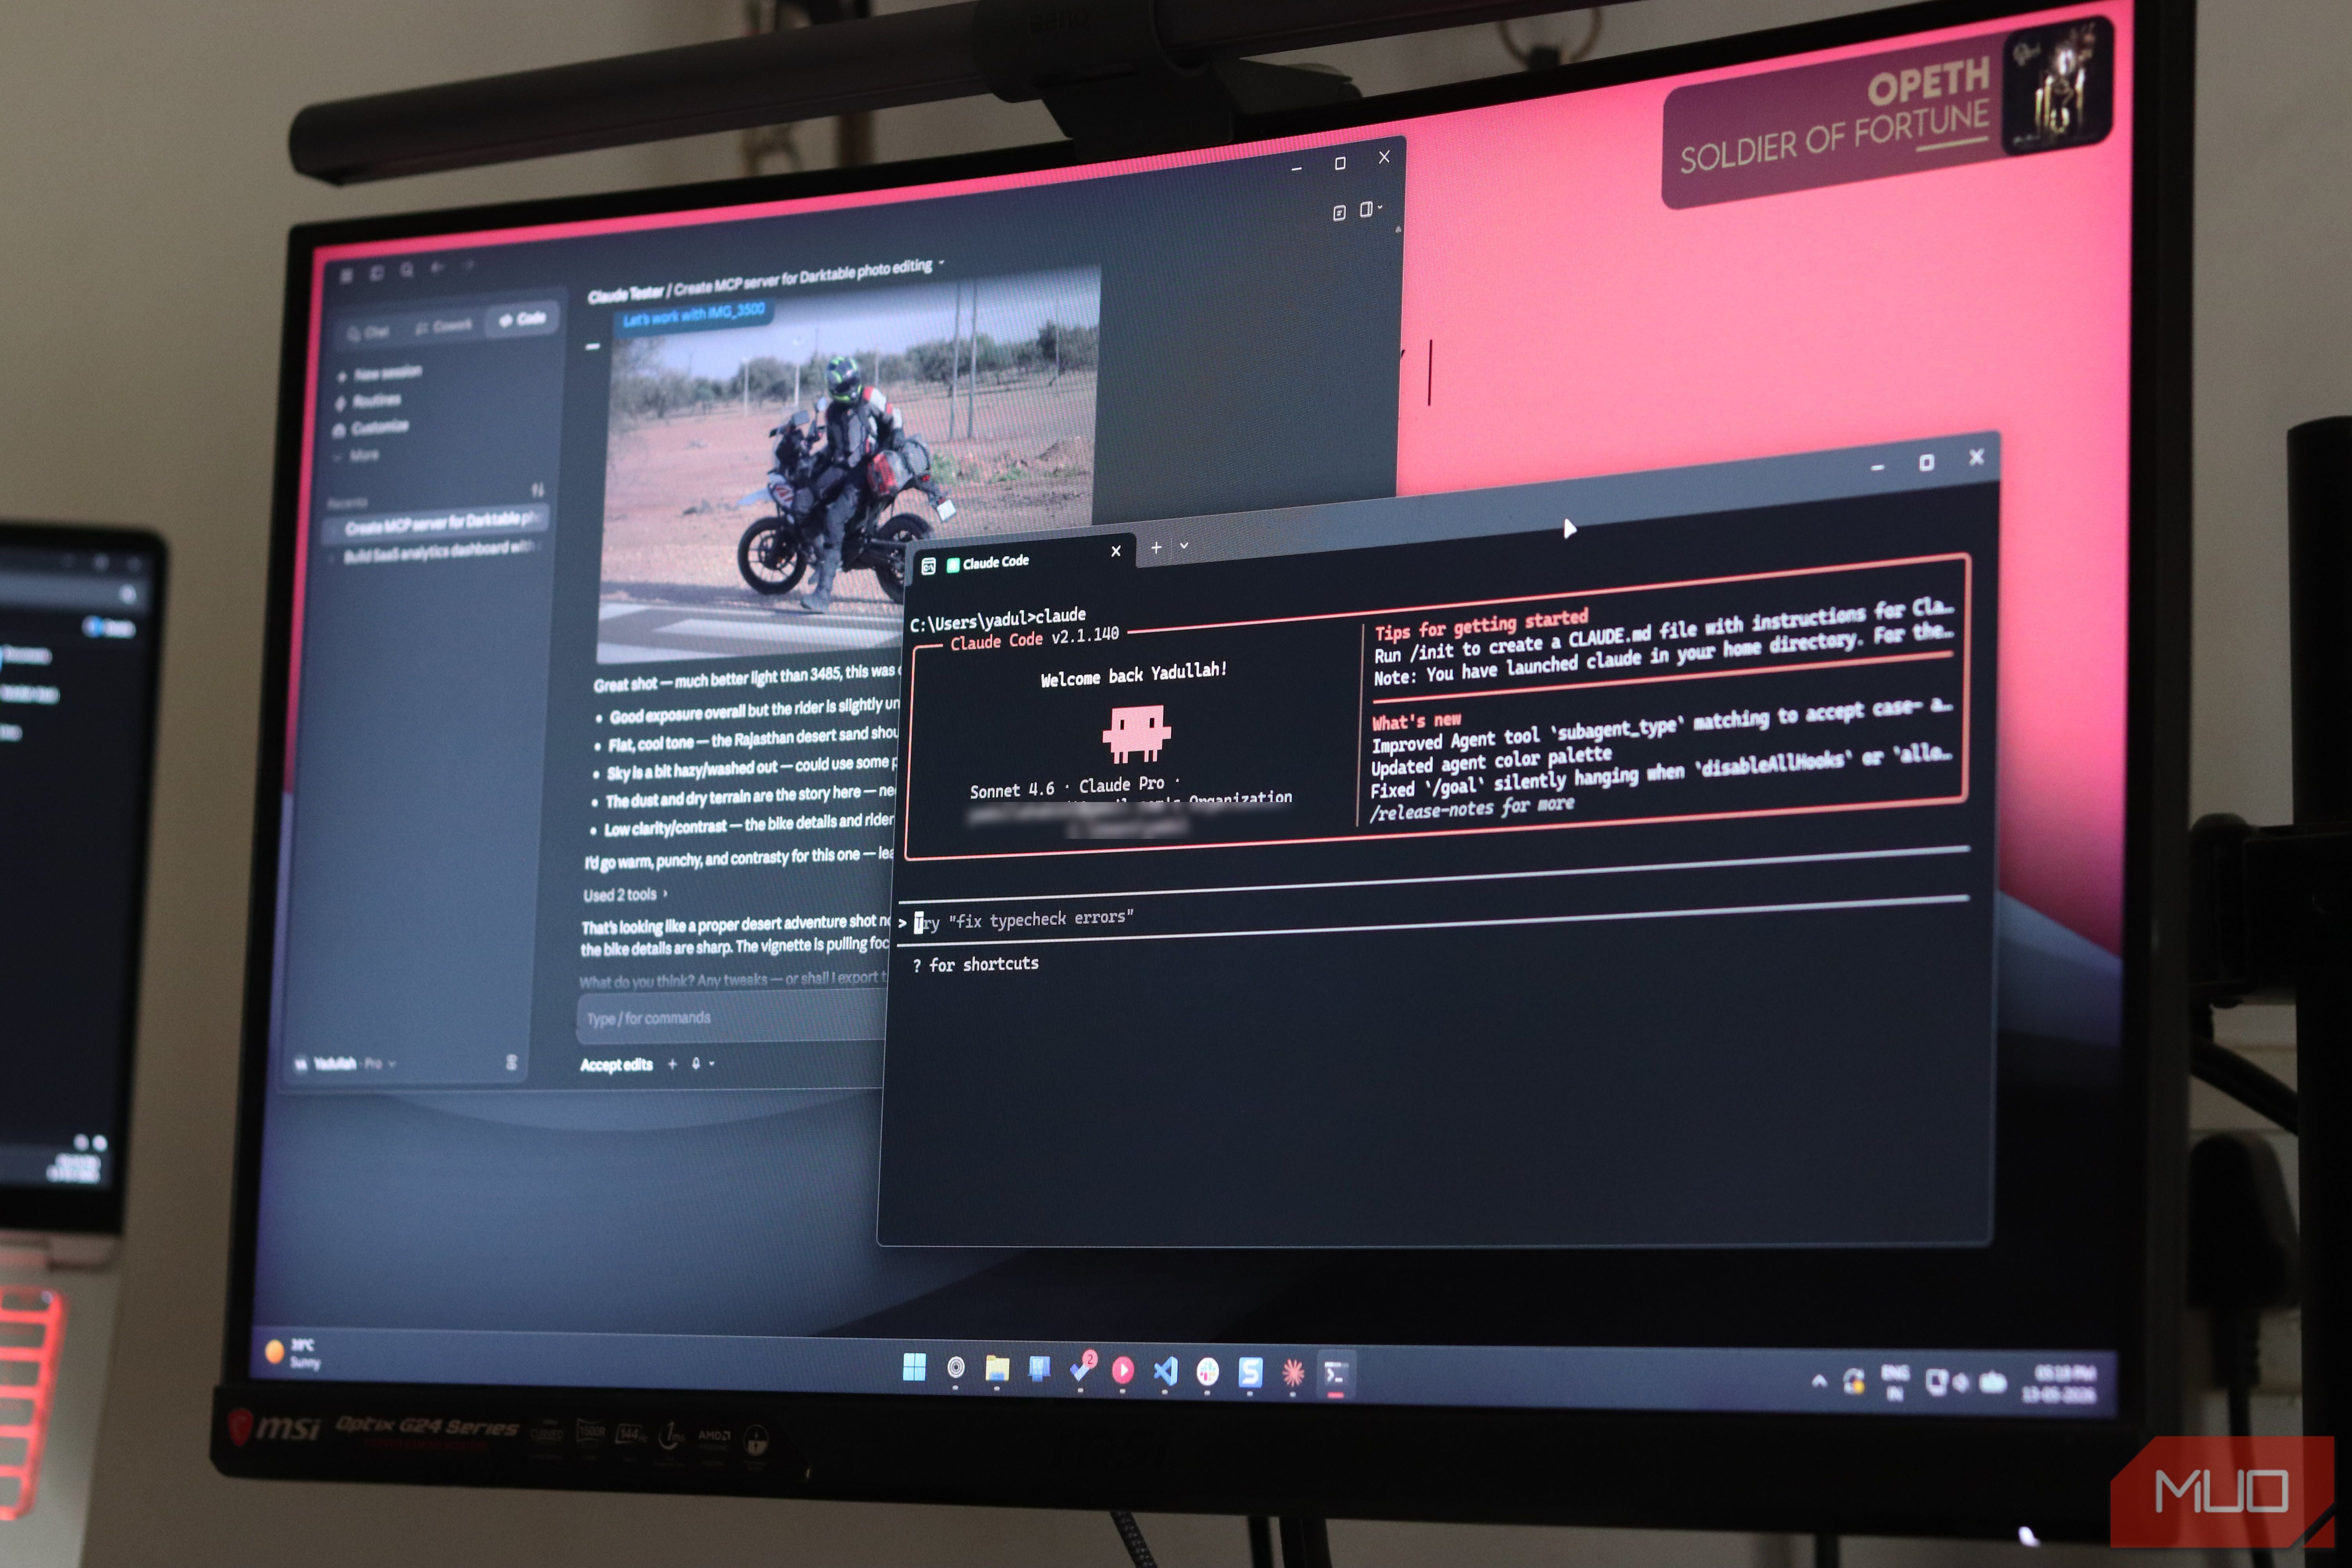
Claude Code is widely recognized as a powerful coding assistant, but its capabilities extend far beyond generating code from scratch. One fascinating use case is leveraging Claude Code to create custom photo-editing scripts. Instead of manually adjusting images with traditional editors or writing complex image-processing algorithms by hand, you can describe your desired edits in natural language and let Claude Code generate the corresponding Python code. With the right libraries—such as Pillow or OpenCV—you can achieve professional-grade adjustments like color correction, resizing, filters, and even AI-powered enhancements. This tutorial will guide you through the entire workflow: setting up your environment, crafting effective prompts, executing the generated code, and iterating to perfection. By the end, you'll be able to turn Claude Code into a surprisingly versatile photo editor.
Prerequisites
Software and Tools
- Claude Code access – You need an active subscription or API key to use Claude Code. Ensure it's properly installed or accessible through your terminal (e.g.,
npm install -g @anthropic-ai/claude-code). - Python 3.8+ installed on your machine. Check with
python --version. - Image processing libraries – Pillow (PIL fork) is recommended for basic operations. Install with
pip install Pillow. For advanced tasks, also installopencv-pythonandnumpy. - A sample image – Download or prepare a test photo (e.g.,
photo.jpg) to work with.
Knowledge Requirements
- Basic familiarity with command-line interfaces (terminal).
- Fundamental understanding of Python syntax (variables, loops, function calls).
- No prior image-processing expertise required—Claude Code will generate the code for you.
Step-by-Step Instructions
Step 1: Setting Up Your Environment
Open your terminal and create a dedicated project folder:
mkdir claude-photo-editor
cd claude-photo-editor
Activate a Python virtual environment (optional but recommended):
python -m venv venv
source venv/bin/activate  # On Windows: venv\Scripts\activate
Install the necessary libraries:
pip install Pillow opencv-python numpyPlace your sample image (e.g., input.jpg) in the folder. Your environment is now ready.
Step 2: Defining Your Editing Goal
Before interacting with Claude Code, clarify what you want to achieve. Common photo-editing tasks include:
- Adjusting brightness/contrast.
- Applying a sepia or grayscale filter.
- Resizing or cropping to specific dimensions.
- Removing red-eye or blemishes (advanced).
- Adding text or watermarks.
For this guide, we'll start simple: Increase brightness by 30% and apply a warm color tone. Write your goal in natural language—it will be your prompt.
Step 3: Crafting Your Prompt to Claude Code
Open Claude Code in your terminal (run claude or claude-code) and enter a detailed prompt. Be specific about the input file, output file, and the libraries you want to use. For example:
Write a Python script using Pillow that:
- Opens 'input.jpg'.
- Increases brightness by 30% using the ImageEnhance module.
- Applies a warm color tone by adding 20 to the red channel and 10 to the green channel for every pixel (using point() or pixel access).
- Saves the result as 'output.jpg'.
Provide the complete script with comments explaining each step.
Claude Code will generate code similar to this:
from PIL import Image, ImageEnhance

def adjust_brightness_and_warmth(input_path, output_path, brightness_factor=1.3):
    img = Image.open(input_path)
    # Step 1: Brightness
    enhancer = ImageEnhance.Brightness(img)
    img_bright = enhancer.enhance(brightness_factor)
    # Step 2: Warmth – increase red/green channels
    r, g, b = img_bright.split()
    r = r.point(lambda i: min(i + 20, 255))
    g = g.point(lambda i: min(i + 10, 255))
    img_warm = Image.merge('RGB', (r, g, b))
    img_warm.save(output_path)
    print(f"Saved to {output_path}")

if __name__ == "__main__":
    adjust_brightness_and_warmth('input.jpg', 'output.jpg')
Note: The actual generated code may vary. Always review before running.

Step 4: Executing the Generated Code
Copy the script into a file, e.g., edit_photo.py. Run it from the terminal:
python edit_photo.pyOpen output.jpg to see the result. If it looks correct, you're done. If not, proceed to refinement.
Step 5: Refining and Iterating
If the output is not satisfactory, describe the issue to Claude Code. For example:
"The warmth adjustment made the image too red. Reduce the red channel addition to 10 and add 5 to blue to balance. Update the script."
Claude Code will modify the code accordingly. Iterate until you get the desired effect. You can also combine multiple operations: resize first, then filter, then add a border.
Common Mistakes
- Not specifying the library version – Pillow and OpenCV have different APIs. Always mention the library name (e.g., "using Pillow") to avoid confusion.
- Forgetting to import modules – If Claude Code omits imports, the script will fail. Add them manually if needed.
- Overlooking file paths – Use absolute paths or ensure the script is run from the correct directory.
- Running code blindly – Generated code may contain bugs or unintended operations (e.g., overwriting input). Always preview the script before executing.
- Ignoring pixel range – When modifying channels, ensure values stay within 0–255. The example above uses
min(i + 20, 255)to prevent overflow. - Expecting AI-level perfection – Claude Code generates code, not magic. Complex edits (e.g., object removal) require manual fine-tuning.
Summary
By following this guide, you've learned how to transform Claude Code from a pure coding assistant into a creative photo-editing tool. The key steps are: setting up a Python environment with Pillow, defining your editing goal, crafting a detailed prompt for Claude Code, executing the generated script, and iterating based on results. With practice, you can automate batch edits, apply complex filters, and even combine multiple libraries. This approach saves time and lowers the barrier to custom image processing—no need to memorize APIs; just describe what you want. Now go experiment: try generating a script for a vintage film effect or a watercolor style. Claude Code's versatility is only limited by your imagination.